Creamy Sweet Milk Fudge Squares
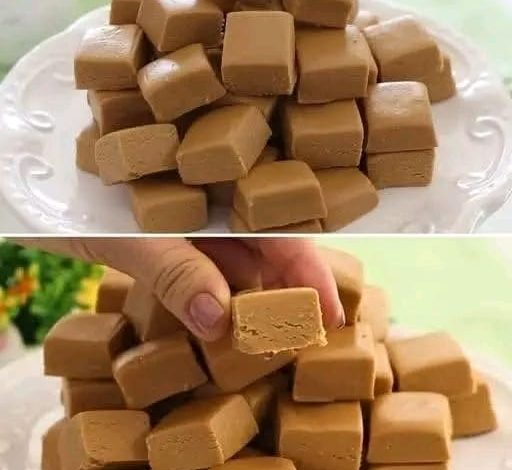
Few desserts bring back warmth and nostalgia quite like Sweet Milk Fudge Squares. Creamy without being too heavy, sweet yet well balanced, and smooth enough to melt on your tongue, these treats feel both comforting and indulgent. Enjoyed for generations, this recipe is straightforward, dependable, and delivers impressive results with very little effort. Whether you’re just starting out in the kitchen or have years of baking experience, every square offers a touch of elegance and pure satisfaction.
🍬 Sweet Milk Fudge Squares
🌟 Ingredient Highlights
The magic lies in a handful of simple, classic ingredients:
- Sweetened milk → forms the creamy base and provides natural sweetness
- Butter → adds richness and a velvety texture
- Sugar → helps set the fudge while balancing sweetness
- Vanilla (or other flavorings) → brings warmth and depth
Optional variations may include powdered milk, condensed milk, or blended dairy options for subtle shifts in flavor and texture.
🥄 Step-by-Step Method
1. Prepare the Pan
Line a square or rectangular pan with parchment paper, leaving extra hanging over the edges to make lifting and slicing easier. Set aside.
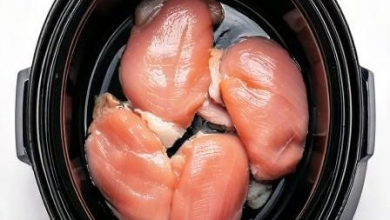
2. Cook the Base
In a heavy-bottomed saucepan, combine the sweetened milk, butter, and sugar. Cook over medium heat, stirring constantly, until the butter has melted and the mixture is smooth. Continuous stirring helps prevent scorching.
3. Thicken the Mixture
Continue cooking and stirring until the mixture becomes thick, glossy, and creamy. It’s ready when it begins to pull slightly away from the sides of the pan.
4. Flavor and Pour
Remove from heat and stir in the vanilla or your preferred flavoring. Pour the mixture into the prepared pan and smooth the surface with a spatula.
5. Cool and Set
Allow the fudge to cool at room temperature, then refrigerate until fully firm. Lift it out using the parchment paper and cut into even squares.
✨ Tip: For a decorative touch, sprinkle with toasted nuts, drizzle with melted chocolate, or dust lightly with cocoa powder before chilling.